The iPhone has long been celebrated for its sleek, elegant design, with its shiny glass back adding to its premium feel. However, with its polished aesthetics comes the risk of accidental damage, particularly to the back glass. Whether you’ve dropped your phone or accidentally scratched it, replacing the back glass of your iPhone is something many iPhone users will eventually need to consider. In this article, we’ll explore everything you need to know about iPhone back glass replacement, including common issues, replacement options, and step-by-step instructions.
Why Does the iPhone Back Glass Need to Be Replaced?
The back glass of an iPhone is not just for looks; it also plays a crucial role in protecting the internal components of the device. Over time, or with a single drop, this glass can crack or shatter. When this happens, it’s more than just an aesthetic issue – a damaged back glass can affect the phone’s functionality, leaving it vulnerable to dirt, moisture, and other elements that can seep inside.
Common Reasons for iPhone Back Glass Damage
Several factors can lead to a broken back glass. These include:
- Accidental Drops: The most common cause of damage is dropping the phone. If it lands on a hard surface or the glass is hit at the wrong angle, it can shatter.
- Scratches and Cracks: Even small scratches can eventually lead to cracks, weakening the integrity of the back glass.
- Pressure Damage: Sitting on your iPhone or applying too much pressure while handling it can cause stress on the back glass, leading to cracks.
- Impact from Objects: Dropping heavy objects onto your iPhone, or it being hit by something sharp or hard, can cause significant damage.
What Happens When the Back Glass Breaks?
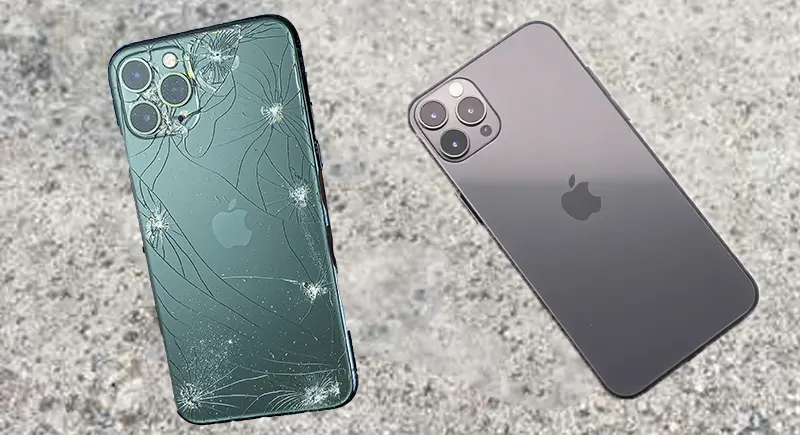
When the back glass breaks, the first thing you may notice is the physical damage – cracks or shards of glass. However, there are other consequences to be aware of:
- Aesthetic Damage: Broken glass can make the iPhone look old or poorly maintained, detracting from its aesthetic appeal.
- Risk of Internal Damage: A crack or shattered glass can leave the phone vulnerable to dust, moisture, or dirt that can seep into internal components, potentially causing further damage.
- Touching the Broken Glass: If the glass is significantly cracked, it can also pose a safety risk by causing cuts or scratches when handling the device.
Options for Replacing iPhone Back Glass
If you find yourself with a broken back glass, there are a few options available to get it fixed. Depending on your preferences and budget, you can choose between an authorized repair service, third-party repair centers, or attempting a DIY repair.
1. Apple Authorized Repair Services
Apple offers official repair services for iPhone back glass replacement, but this comes with certain conditions:
- Warranty: If your phone is still under warranty or has AppleCare+, you may be eligible for a discounted or free repair, depending on the terms and conditions of your coverage.
- Genuine Parts: Apple uses genuine replacement parts, ensuring that the repair will meet the high standards of quality and performance that the brand is known for.
- Cost: Apple’s repair prices tend to be on the higher side, especially if you’re outside of warranty or AppleCare+ coverage. Repairing a back glass with Apple can be expensive.
- Time: The repair process at an Apple Store or authorized repair center can take anywhere from a few hours to a couple of days, depending on the model and availability of parts.
2. Third-Party Repair Services
If you want to save some money or need a quicker fix, third-party repair shops can often provide a more affordable solution. Many independent repair shops offer back glass replacement services for iPhones.
- Lower Cost: Third-party services are generally cheaper than official Apple repair options. However, the price may vary depending on the repair shop and location.
- Speed: Some third-party shops may offer same-day service, allowing you to have your back glass replaced quickly and conveniently.
- Risks: The main downside to third-party repairs is that they might not use genuine Apple parts. While this may not always affect performance, it could potentially void any remaining warranty you have with Apple.
- Quality: The quality of the repair and parts may vary from one repair shop to another, so it’s important to choose a reputable provider.
3. DIY iPhone Back Glass Replacement
If you’re tech-savvy and have some experience with iPhone repairs, you might consider replacing the back glass yourself. This is the most affordable option but comes with risks.
- Tools and Parts: You’ll need to purchase the correct replacement back glass and a specialized repair kit. These kits usually come with the tools necessary to open your iPhone and remove the broken glass.
- Skill and Patience Required: iPhones are complex devices, and replacing the back glass requires precision. You must be careful not to damage internal components while performing the repair.
- Voiding Warranty: Attempting a DIY repair will almost certainly void any existing warranty or AppleCare+ protection.
- Potential for Additional Damage: If you’re not careful, you could end up causing more damage to your device. The back glass is bonded tightly to the phone, so improper removal could damage internal components or other parts of the phone.
Step-by-Step Guide to iPhone Back Glass Replacement
If you’re attempting a DIY repair, here’s a general guide to help you replace the back glass on your iPhone. Note that the exact steps can vary depending on the iPhone model.
Tools and Materials You Will Need
- Replacement back glass
- Pentalobe screwdriver
- Suction cup tool
- Plastic pry tools
- Heat gun or hair dryer
- Adhesive for reattaching the new glass
- Isopropyl alcohol and lint-free cloth
Step 1: Power Off the Device
Before starting any repair, make sure to turn off your iPhone to prevent any potential electrical shorts or damage.
Step 2: Heat the iPhone
Using a heat gun or hair dryer, gently heat the back of the iPhone for a few minutes. The heat will soften the adhesive that holds the back glass in place, making it easier to remove.
Step 3: Use the Suction Cup Tool
Place the suction cup tool on the back of the iPhone, near the edge. Gently pull up to create a small gap between the back glass and the phone’s body.
Step 4: Pry the Glass Open
Once you’ve created a small gap, use a plastic pry tool to carefully work your way around the edges of the back glass. Be cautious, as applying too much force could crack the glass or damage internal components.
Step 5: Clean the Area
Once the back glass is removed, you’ll want to clean the area thoroughly. Use isopropyl alcohol and a lint-free cloth to remove any adhesive residue or dust from the frame.
Step 6: Attach the New Back Glass
Apply the adhesive to the new back glass, making sure it’s evenly distributed. Carefully align the new glass and press it into place, ensuring it sits properly.
Step 7: Power On Your iPhone
Once the adhesive has set and the back glass is securely attached, power on your device. Check to make sure everything is working as expected, and the phone looks as good as new.
Conclusion
iPhone back glass replacement is a common repair, especially as the devices continue to evolve and feature more fragile glass backs. Whether you choose to have the glass replaced by Apple, a third-party repair shop, or attempt it yourself, it’s important to understand the options available and make the decision that best suits your needs, skill level, and budget.
If you choose a DIY route, be sure to proceed with caution and follow the steps carefully to avoid damaging your iPhone further. For those who prefer peace of mind, opting for a professional repair service might be the best choice. No matter what route you take, your iPhone will be as good as new with a fresh back glass replacement!